
Move It reshapes existing roads and tracks. Activate the Transport Fever 3 mod for your game, open its construction-bar tools, and select the network nodes or segments you want to edit. It supports moving nodes, rotating junction legs, adjusting elevation, and reshaping roads. It does not provide unrestricted relocation of stations, depots, industries, or buildings.
For a first edit, use a small section of ordinary road away from a station or industry. Save before changing a busy junction. A successful geometric edit still needs a usable connection for the vehicles already running through it; moving a node is not a substitute for checking the route afterward.
Install and Activate Move It
Use the Transport Fever 3 edition of Move It. The name also appears in other games, so matching the name alone is not enough. In the game's Mod Hub, search for Move It, open the matching entry, and read its current requirements before subscribing or downloading. The author identifies it as a tool for existing roads and tracks.
Installing the package and activating it for a world are separate actions. For a new Free Game:
- Open the new-game setup.
- Continue to Add Mods.
- Search the available mod list for Move It.
- Press Activate beside its entry.
- Review the active list, including any requirements shown for that package.
- Start the game only after the intended selection is active.
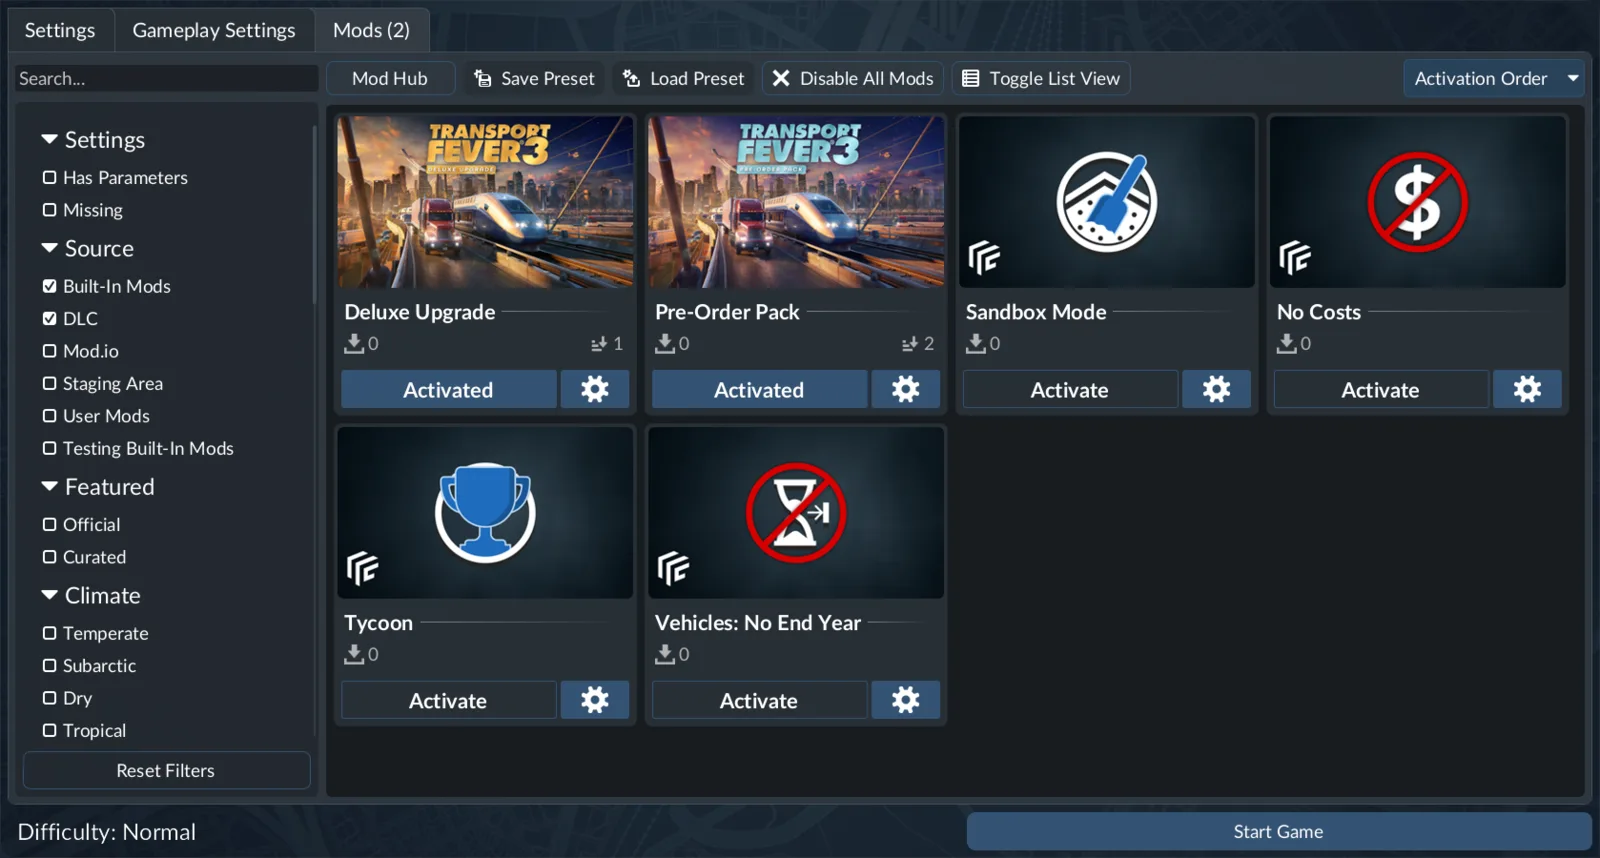
Use this activation screen for the installed Move It entry. The pictured cards are the game's built-in mods.
For an existing world, open Load Game, find its save card, and use the card's settings control. A save that permits changing its mod list exposes the relevant setup tab. Enable Move It there and load the save. If a save does not expose editable settings, do not assume that replacing files will force the missing option to appear.
Before changing an established railway, keep a separate save with the original geometry. This gives you a clear return point if the edited junction creates a routing problem. There is no universal undo shortcut documented for every Move It action here; the saved version is the reliable recovery point for this workflow.
Find the Network Editing Tools
Move It's editing tools appear in the construction bar. Its tool set includes Straighten, Level, Grade, Curve, and Dissolve, along with height, slope, and elevation-type controls for roads and tracks. Look for the network editing controls rather than a new entry in the vehicle depot or line manager.
Start with the object you need to change. A node is a connection point in the network. A segment joins network points. Those targets behave differently: moving a node changes the surrounding connection, while editing a road segment can use a curve handle to alter its bend.
Choose one target before adding a group. This makes it easier to identify whether the selected object is the junction point you intended, a neighboring road segment, or geometry owned by another construction. On a dense intersection, selecting too much at the outset can make a small alignment change affect more approaches than you expected.
A short opening check is useful:
- The mod is active for this world.
- You are using the construction-bar editing tools.
- The selected network is ordinary editable road or track geometry.
- The selection contains the part you intend to move.
- You have a saved version before any large change.
Select One Object or a Connected Group
Move It supports several selection methods. Use them according to the shape of the work, rather than repeatedly moving individual points that should remain aligned as a group.
| Selection method | Best use |
|---|---|
| Select a single node or segment | Identify the target and make one local correction |
| Shift + click | Add individual targets to a selection |
| Selection box | Select a group within a defined area |
| Ctrl + click | Follow a connecting path through the network |
For a junction adjustment, begin with the junction node and inspect its connected legs. For a longer realignment, select the connected section that should move together. For a box selection, inspect the result before dragging: nearby roads or tracks may lie inside the same area even when they belong to a different movement.
Keep the selection as small as the task allows. If the aim is to straighten a short road stretch, including its entire neighboring street grid adds work to the connection checks afterward. If the aim is to move a group, repeatedly dragging separate nodes can lose the relationship you wanted to preserve.
Move, Rotate and Reshape Roads
The basic operations are moving nodes, rotating individual junction legs, and bending road segments.
Move a node by dragging the selected node. Use this for a connection point that needs to sit farther from an obstacle or align with the adjoining section. After moving it, inspect all attached approaches rather than only the road on which you began.
Rotate a junction leg with the orange rotation ring. This is a targeted way to alter an approach angle without treating the entire junction as one rigid object. Identify the leg first, then rotate it and inspect the resulting connection to the next node.
Bend a road segment with its magenta curve handle. Use that handle when the connection points can remain where they are but the curve between them needs adjustment. Moving a node and bending a segment solve different problems; select the operation that matches the geometry you want to retain.
The named construction-bar tools provide additional edits. Straighten addresses alignment, while Level, Grade, and Curve help with the selected network shape. Check the visible tool context before applying an operation to a group. Dissolve has an important restriction: it refuses segments with attached objects.
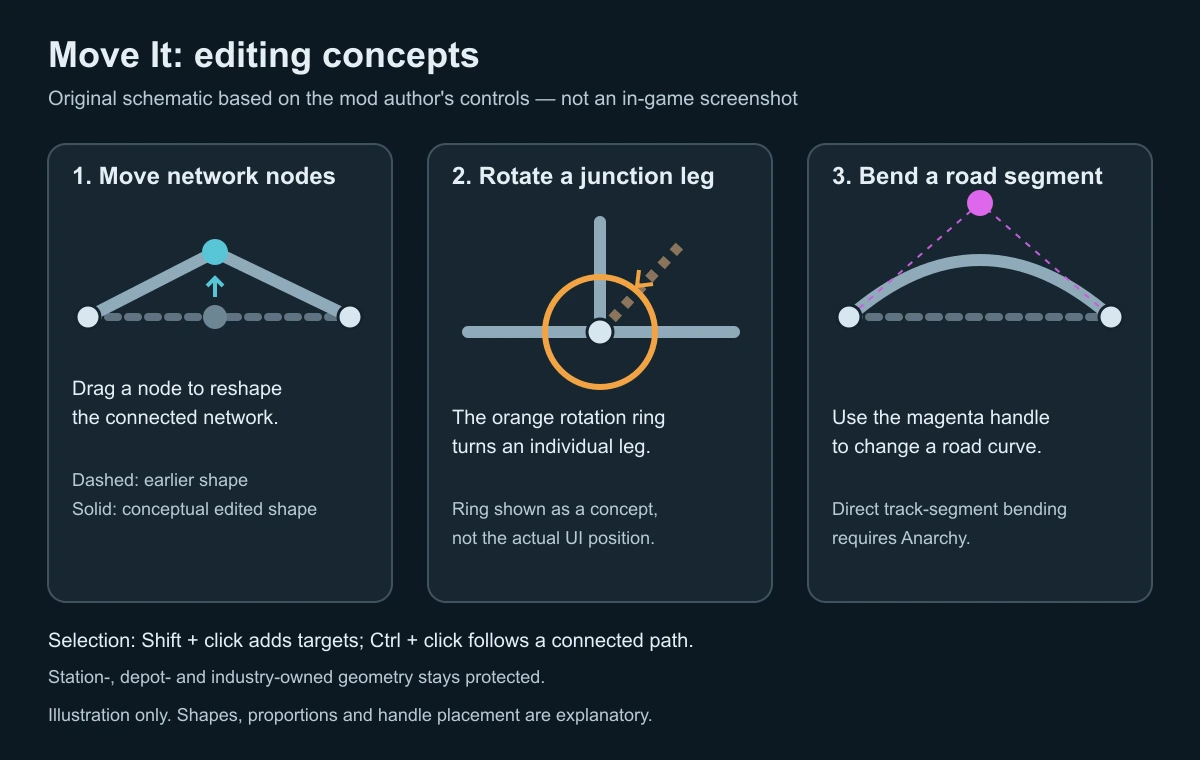
Original schematic based on the mod author’s controls. This is an illustration, not an in-game screenshot; handle positions are explanatory.
Keyboard Controls for Fine Adjustments
Move It provides fixed-step rotation and height controls. These are useful after a broad mouse movement, when a road still needs a small adjustment to fit the intended alignment.
| Input | Adjustment |
|---|---|
| M / N | Rotation in 15-degree steps |
| Shift with rotation input | Rotation in 2.5-degree steps |
| Comma / period | Height in 1-metre steps |
| Shift with height input | Height in 0.1-metre steps |
| C | Switch snapping |
| T | Switch terrain following |
Use one kind of change at a time when learning the tool. Rotate a selected leg, inspect its angle, then adjust height if needed. Combining several height and rotation steps before checking the result makes it harder to identify which change caused an unwanted connection.
Fine height steps are particularly useful when the road is nearly aligned but sits slightly above or below its surroundings. They do not remove the need to inspect the slope into the neighboring segment. A point at the desired elevation can still create an abrupt approach if the next point remains far higher or lower.
The controller interface uses contextual shortcut hints. Follow those displayed hints for the selected operation; the keyboard table is not a list of controller equivalents. Controller support includes selecting and moving node groups, rotating junction legs, adjusting height, and using the toolbar.
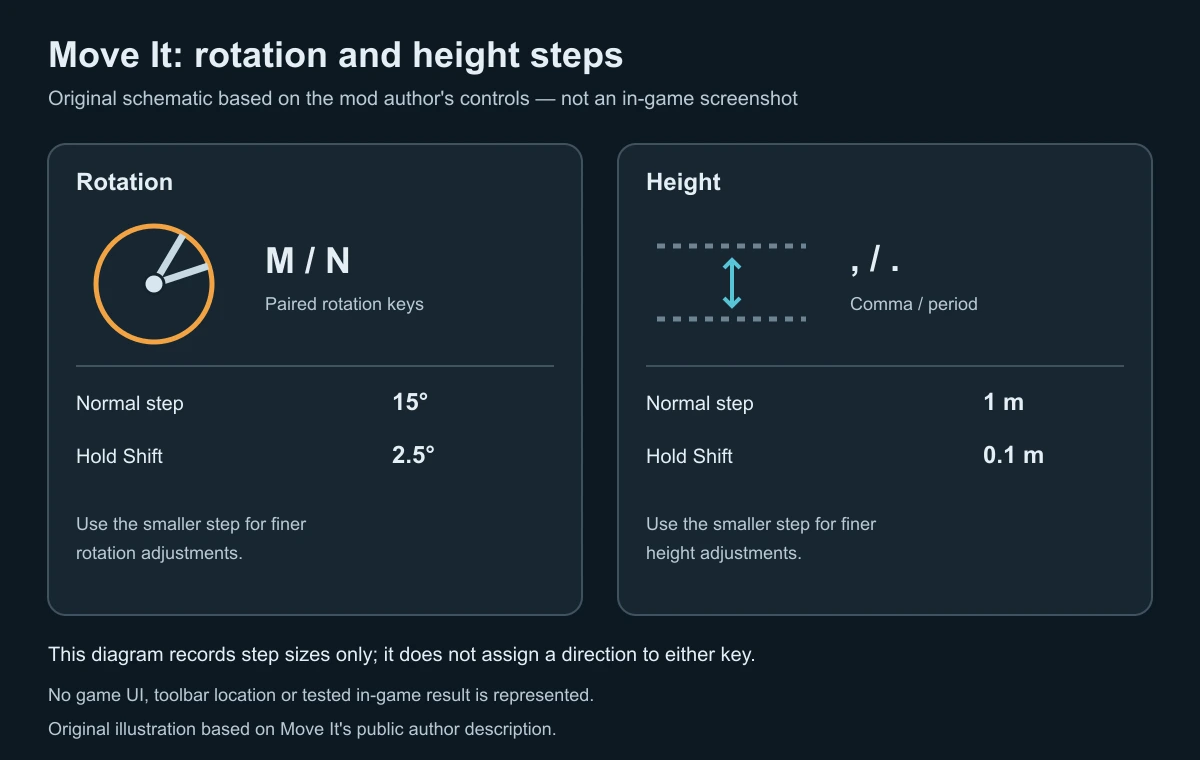
Original schematic of the author’s documented step sizes. The paired keys are shown without assigning unverified directions.
Snapping, Terrain Following and Elevation
Move It offers angle, curve, and parallel guides to help align network edits. Toggle the relevant modes in the toolbar. Snapping can also be switched with C, and terrain following with T.
When an edit keeps aligning to a guide you do not want, inspect the snapping setting before repeating the drag. A snapping mode can be useful for one part of a project and inconvenient for the next. For example, alignment guides help preserve a parallel relationship, while a local free adjustment may need a different setting.
Terrain following affects the relationship between the edit and the ground. Check it alongside the height and slope controls when a movement changes elevation unexpectedly. Do not compensate for an unwanted mode by applying many separate height changes; first establish whether the tool is following terrain in the way you intend.
Roads and tracks also have elevation-type controls. Consider the whole edited section, including how it joins the surrounding network. A change that looks correct from above can still have an unsuitable vertical transition when viewed from the side.
Railway Editing and Anarchy Limits
For ordinary railway reshaping, move track nodes. Direct bending of track segments requires Anarchy. This distinction explains why a road's curve-handle workflow should not be assumed to work identically on a railway segment.
Anarchy is optional and bypasses normal collision checks for deliberate edits. Turn to it only when the edit actually requires that behavior. It does not mean that every protected object becomes movable or that the resulting railway is automatically suitable for a running line.
The mod protects geometry owned by stations, depots, and industries from rebuilding. If a node is part of one of those constructions, refusal is expected. Work on the editable approach outside the protected geometry, or use the game's appropriate construction tools for the station or depot itself.
After a railway edit, follow the route through the changed section. Check both directions if the line uses both. Pay particular attention to the approach into stations, nearby junction legs, and places where a height change has altered the track connection. A moving train is a better completion check than a smooth-looking curve alone.
Fix Common Move It Problems
| Symptom | First check | Appropriate next action |
|---|---|---|
| Installed but no usable tool | World's active-mod list | Activate Move It for that world and inspect the construction bar |
| Station or industry will not move | Ownership of the selected geometry | Edit the ordinary approach instead of protected internal geometry |
| Track segment will not bend directly | Whether you selected a track node or segment | Move track nodes; direct segment bending requires Anarchy |
| Dissolve refuses the target | Attached objects on the segment | Choose a different target or keep that segment intact |
| Drag follows an unwanted alignment | Snapping toolbar state | Change the relevant guide or snapping mode |
| Edit follows the ground unexpectedly | Terrain-following state | Check T and the height/slope controls before another movement |
For a larger problem, return to the saved version and repeat the edit with a smaller selection. Make one change, inspect the connected network, then move to the next. The finished result should satisfy both parts of the task: the geometry has the shape you wanted, and the line still has a usable route through it.